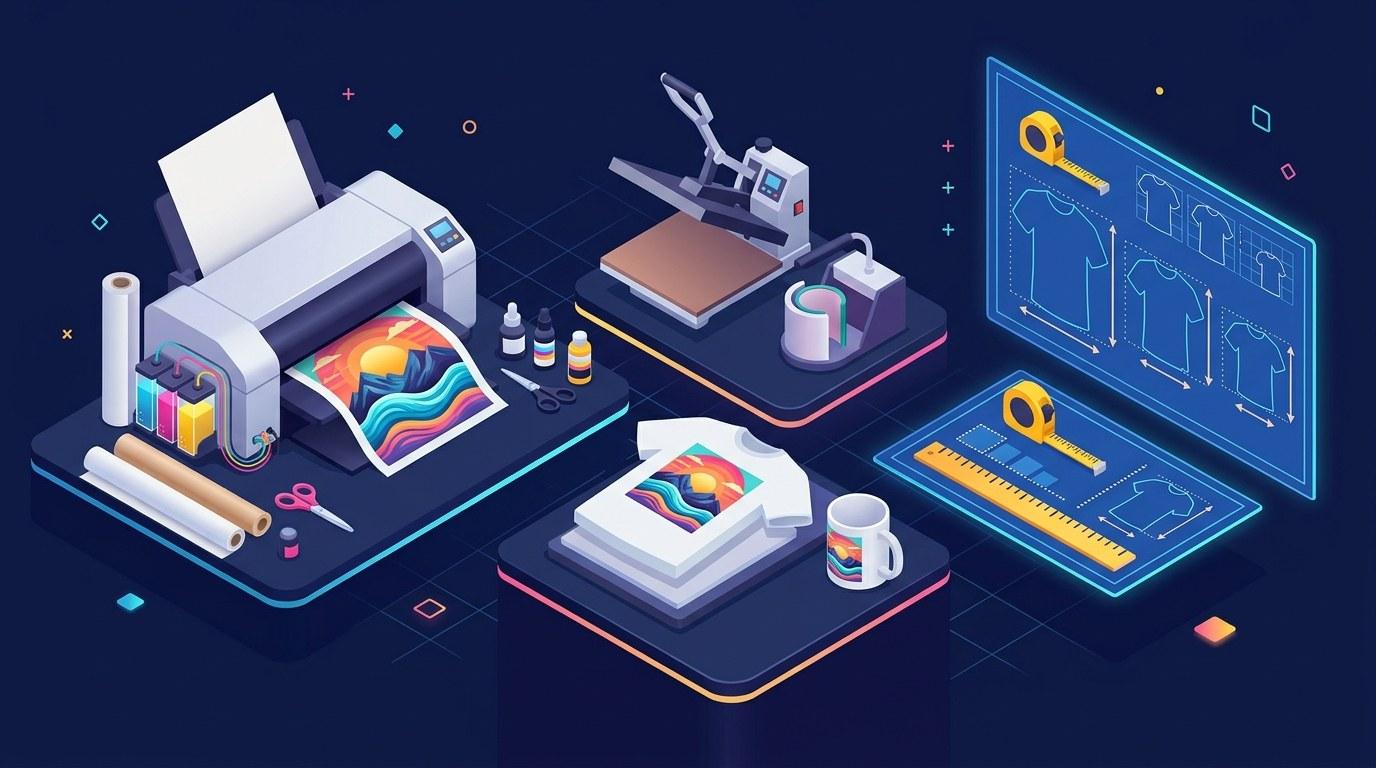
What is the correct t-shirt design size? For a standard full-front print on print-on-demand, use 4500 x 5400 pixels at 300 DPI, exported as a transparent PNG. That equals a 15 x 18 inch print area, which covers the maximum design area used by the major POD platforms, and the artwork can be scaled down from there for smaller placements like a left chest or sleeve print.
Getting t-shirt design size right matters because printers cannot invent resolution. A design that looks crisp on screen at 1000 pixels wide prints blurry at 10 inches across, and a file that exceeds the print area gets cropped or shrunk without warning. This guide gives you the exact dimensions and placement numbers that current 2026 print guidelines use.
T-shirt design size in pixels
Printers measure print size in inches; your file controls pixels. At 300 DPI, multiply inches by 300 to get the pixel dimensions. The table below converts the most common placements to exact file sizes.
| Placement | Typical print size (inches) | File size at 300 DPI (pixels) |
|---|---|---|
| Oversized full front | 12 x 16 | 3600 x 4800 |
| Standard full front | 10 x 12 | 3000 x 3600 |
| Center chest | 8 x 8 | 2400 x 2400 |
| Left chest | 3.5 x 3.5 | 1050 x 1050 |
| Full back | 11 x 14 | 3300 x 4200 |
| Sleeve | 2.5 x 2.5 | 750 x 750 |
If you make only one file, make the 4500 x 5400 version. It is the standard upload size across the major POD platforms and the Merch by Amazon spec, and it gives the print provider headroom to scale the art to any placement without quality loss. Scaling a large file down is safe; scaling a small file up is where prints turn blurry.
Where to place the design on the shirt
Size is only half the job. Printers judge placement from the collar and shoulder seams, not from the center of the shirt. Use these starting points, then adjust for shirt size and neckline.
| Placement | Typical size | Distance from collar |
|---|---|---|
| Full front | 10-12 inches wide | Top of design 2-3 inches below the collar |
| Center chest | 6-10 inches wide | 2-3 inches below the collar seam |
| Left chest | 3-4 inches wide | 7-9 inches down from the shoulder/collar point |
| Full back | 10-12 inches wide | 3-4 inches below the back collar |
| Sleeve | 2-3 inches wide | Centered on the sleeve panel |
On youth and smaller shirts, scale everything down: a 10-inch print that fills an adult medium looks oversized on a youth small. And keep at least one inch of clearance from seams and edges, because placement can shift about half an inch between units.
Worked examples: sizing the math
Example 1: is your file big enough for full front? You designed a graphic at 2000 x 2400 pixels. At 300 DPI that prints at 6.7 x 8 inches, fine for a center chest print, but too small for a 10 x 12 full front, which needs 3000 x 3600 pixels. Either redesign at the larger size or accept the center chest placement.
Example 2: sizing a left chest logo. The target print is 3.5 inches wide. Multiply 3.5 by 300 DPI to get 1050 pixels wide. A 1050 x 1050 file at 300 DPI is all you need; uploading a 4500-pixel file for this placement gains nothing and slows the upload.
Example 3: checking DPI on an existing file. Divide the pixel width by the intended print width in inches. A 3600-pixel-wide design printed at 12 inches wide gives 300 DPI. The same file printed at 18 inches wide drops to 200 DPI, which is below the 300 DPI standard and shows as soft edges on DTG prints.
DPI, file format, and the two checks that save you
Use 300 DPI for everything. It is the standard print-on-demand platforms require, and 150 DPI is the floor below which prints visibly degrade. Export as a PNG with a transparent background so no white box prints around the art; JPG files work for full-bleed rectangles but cannot carry transparency. Check the art at 100% zoom before uploading: fuzzy edges, semi-transparent halos around the design, and spelling mistakes are the three most common reasons POD sellers get blurry or rejected prints.
Resize your artwork to the exact print dimensions
If your design is the wrong size, resize it before it reaches the printer. Our free image resizer sets exact pixel dimensions like 4500 x 5400 or 1050 x 1050 without photo-editing software, so your file matches the print area exactly. No signup needed.
Quick answers about t-shirt design size
What size should a t-shirt design be in pixels? 4500 x 5400 pixels at 300 DPI is the standard full-front POD file. Smaller placements need proportionally smaller files: 3000 x 3600 for a 10 x 12 inch full front, 1050 x 1050 for a 3.5-inch left chest logo.
What DPI should a t-shirt design be? 300 DPI. It is the industry standard for print-on-demand and direct-to-garment printing. Never go below 150 DPI, and remember that DPI only has meaning together with a print size: 3000 pixels at 300 DPI prints 10 inches wide.
Can I use a JPG instead of PNG for t-shirt designs? Only if the design fills the entire print rectangle. PNG is the better choice for almost all shirt designs because it carries transparency, which is what stops a white box from printing around your art.
Print areas vary between providers, and specs change over time. The dimensions above were verified against current 2026 print-on-demand and apparel decoration guidance on October 13, 2026. Check your provider's template before uploading final artwork.